0
£0.00
0 items


Decide which areas you want to cover. This could be a single wall, two walls in a corner, three walls in an enclosure, or a larger bathroom area.
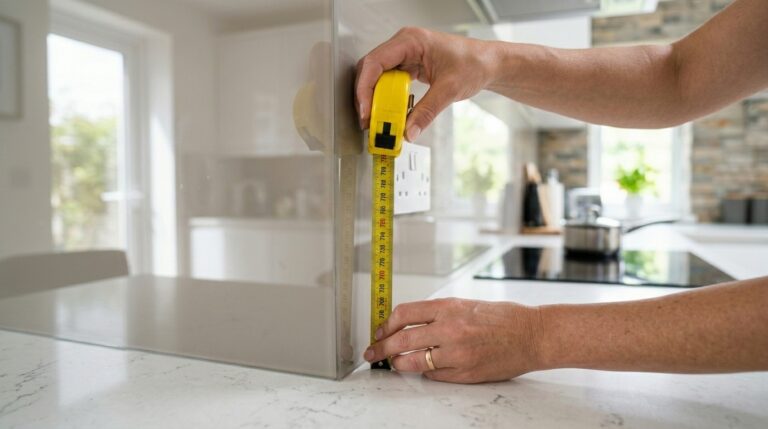
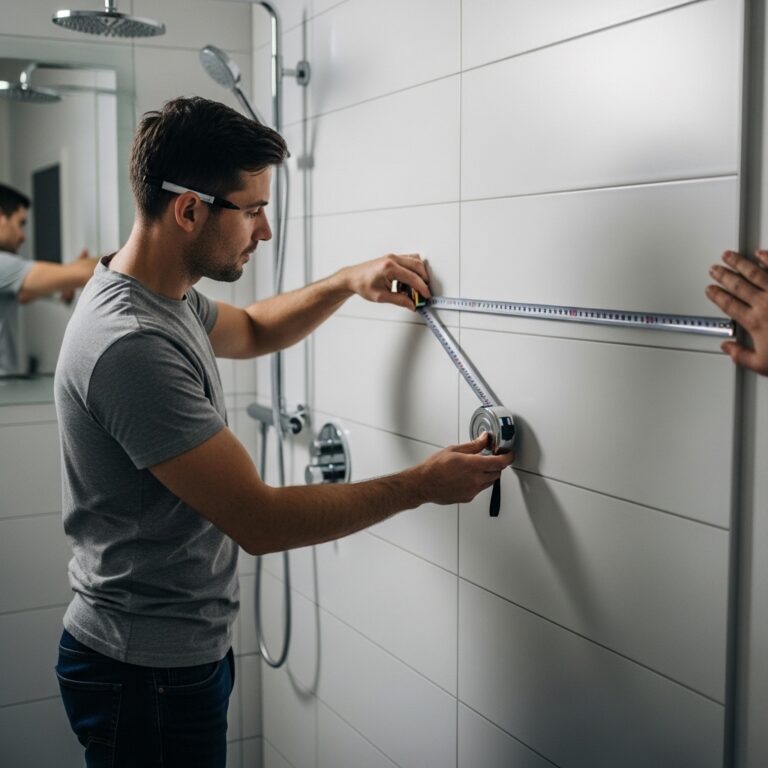
Measure the width and height of each panel area you need.
Each panel should be entered individually, even if the image will continue across all panels.
Add the width and height for each panel in millimetres.
Make sure you enter the measurements for each panel in the correct order.
Panels should be entered from left to right, exactly as they will appear on the wall when installed.
This is important because the system uses that order to:
Once the sizes are entered, the preview will show the image split across the panels in the order selected.
This helps you see:
Use the preview controls to move or scale the image until you are happy with the layout across the panels.
This is especially useful for:
Our 3mm aluminium composite panels can be cut on site using standard power tools, so they can be trimmed during fitting if required.
This is useful for:
The maximum panel size is:
If your wall is larger than this, it will need to be split into two or more panels.
Before placing the order, check:
If you are unsure about panel sizes or order, send us a quick sketch of the layout and measurements and we can help check it before production.



 Abstracts
 Food & Drink
 Popular Kitchen Splashbacks
 Vintage
 Highland Cows
 Marble, Tiles & Textures
 Animals & Birds
 Flowers & Forests
 Beaches, Sealife & Waterscapes
 Popular Basin Splashbacks
 William Morris style/Arts & Crafts
 Metals